Step by Step Creation Path
- Take the raw idea and scope it down to one core action plus one win condition.
- Choose a single primary mechanic that matches the requested [[Desired Feel]].
- Sketch a minimal art direction using the chosen [[Art Style Preference]].
- Write three sentences that explain the game to a 10-year-old.
- Build a tiny prototype that lets you play the core loop in under two minutes.
One Core Mechanic Done Well
- Identify the single action the player repeats most: click, swipe, time press, or hold.
- Make that action feel great with immediate visual and audio response.
- Add exactly one layer of depth such as timing, aiming, or chaining.
- Remove every other button or choice until the player asks for more.
Controls and Instructions On Screen
- Display large friendly text for the main control on first launch.
- Show a persistent small legend in a corner after the first successful action.
- Use both icons and words so players who cannot read yet still understand.
- Offer a "how to" overlay that can be reopened from a question mark button.
Win Lose and Restart
- Clear success condition such as reach the goal, survive X seconds, or collect N items.
- Clear failure condition that is quick to recover from.
- Always offer an immediate big restart button after end state.
- Celebrate the win with a short animation and encouraging message before restart prompt.
Encouragement to Tweak
- List three safe numbers the player can change in the code comments.
- Provide a simple "try changing this" callout next to the value.
- Explain what will happen when the value goes up or down.
- After tweak, the game auto-restarts so the effect is felt instantly.
Plain Language Code Walkthrough
- The game loop runs every frame and updates positions then draws everything.
- Input is read once per frame from keyboard or pointer events.
- Collision is checked with simple distance or rectangle overlap tests.
- Score or state lives in a few variables that reset on restart.
Full Playable Demo
<!DOCTYPE html>
<html><head><meta charset="utf-8"><title>My First [[Your Game Idea]]</title>
<style>body{margin:20px;font-family:sans-serif;background:#f8fafc}canvas{border:2px solid #334155}</style></head>
<body>
<h1>My First Game - [[Your Game Idea]]</h1>
<p>Feel: [[Desired Feel]]. Click or tap the moving target!</p>
<canvas id="c" width="480" height="320"></canvas>
<p><button onclick="restart()">Restart</button> <span id="score"></span></p>
<script>
let x=100,y=100,vx=2,vy=1,score=0,cv=document.getElementById('c'),ctx=cv.getContext('2d');
cv.onclick = e=>{ const r=cv.getBoundingClientRect(); const cx=e.clientX-r.left,cy=e.clientY-r.top; if(Math.hypot(cx-x,cy-y)<30){score++;document.getElementById('score').textContent='Score: '+score; x=Math.random()*400; y=Math.random()*260;} };
function loop(){ ctx.fillStyle='#e0f2fe';ctx.fillRect(0,0,480,320); ctx.fillStyle='#0ea5e9'; ctx.beginPath(); ctx.arc(x,y,24,0,7); ctx.fill(); x+=vx;y+=vy; if(x<30||x>450)vx=-vx; if(y<30||y>290)vy=-vy; requestAnimationFrame(loop); }
function restart(){score=0;document.getElementById('score').textContent='Score: 0';x=100;y=100; }
loop();
</script></body></html>
Beginner Friendly Explanations
- Variables hold the current position and speed of the target.
- The click handler measures distance to decide if it was a hit.
- Boundary checks flip the speed values so the target bounces.
- RequestAnimationFrame keeps the picture moving smoothly.
Safe Values to Change
- Change the 24 in arc radius to make the target bigger or smaller.
- Change the 2 and 1 in vx and vy to make the target faster or slower.
- Change the score++ condition distance from 30 to reward precision.
- Add a second moving shape by copying the draw and update lines.
This first game template takes any [[Your Game Idea]] and turns it into a working, tweakable, delightful five-minute creation that teaches real game-making joy.
Extra Scaffolding for Total Beginners
- Start every session by describing the game in one sentence out loud.
- Draw the game on paper before typing any code.
- Type only the smallest possible working version first.
- Test immediately after every three lines added.
- Celebrate every small improvement with a quick play session.
More Detailed Code Comments for Learners
- The canvas is a rectangle of pixels we draw on every frame.
- ctx stands for context and gives us drawing tools like arc and fill.
- requestAnimationFrame asks the browser to call our loop again soon.
- Event listeners on the canvas capture clicks without extra libraries.
- Variables declared with let can change; const would prevent updates.
Teaching Moments Embedded
- Changing speed values shows cause and effect instantly.
- Distance math introduces a tiny bit of geometry without pain.
- Random placement teaches the value of variety in games.
- Restart function demonstrates the reset pattern used everywhere.
Next Steps After This Game
- Add a second shape that the player must avoid.
- Add a timer and end the game when time runs out.
- Add sound using a single oscillator beep on hit.
- Turn the single target into multiple targets that spawn over time.
- Introduce levels that increase speed after each successful round.
Encouragement and Mindset
- Every professional started with something this simple.
- Bugs are the game telling you what to learn next.
- The joy is in the making, not only in the finished product.
- Share early versions with a friend to get ideas and motivation.
- Keep a folder of every tiny game you finish.
Comprehensive Beginner Checklist
- Open the HTML file in your browser before adding any new feature.
- Read the error messages in the console when something breaks.
- Change only one number at a time and note the result.
- Save a copy with a new name before big experiments.
- Write down what you learned after each session in a notebook.
Common First Game Pitfalls and Fixes
- Character disappears off screen - add boundary checks like the demo.
- Click does nothing - make sure the click handler is attached to the canvas element.
- Game feels too hard - increase target size or slow the movement values.
- No visible score - update a DOM element every time score changes.
- Restart does not reset everything - make sure all state variables are reassigned in the restart function.
How This Maps to Real Game Dev
- Core loop = update + draw repeated forever.
- Input handling is the same whether you use keyboard, mouse, or gamepad.
- Collision detection starts simple and grows into physics engines.
- State machines (playing, paused, gameover) appear in every title.
- Persistence (localStorage) is the tiny brother of saved games and cloud sync.
Celebration of Small Wins
- Getting the first moving shape on screen is a huge milestone.
- Making the first successful click that registers is the first real interaction.
- Shipping the first restart that actually works feels like magic.
- Showing it to someone else and watching them smile is the real prize.
- Every later game you make will stand on this foundation.
Resources for the Next Hour
- Change colors and sizes to match [[Art Style Preference]].
- Add a simple background image using ctx.drawImage after loading.
- Add a second object type that gives bonus points when clicked.
- Make the game end after 30 seconds and show a final message.
- Try converting the whole thing into a different idea using the same skeleton.
You now have a complete, working, educational first game plus the knowledge to modify it confidently. This is the start of a lifelong habit of making things for yourself and others.
---
My First Game (Beginner Builder) template. Scope small. Teach through doing. Fully playable.

 Playable Games
 Characters
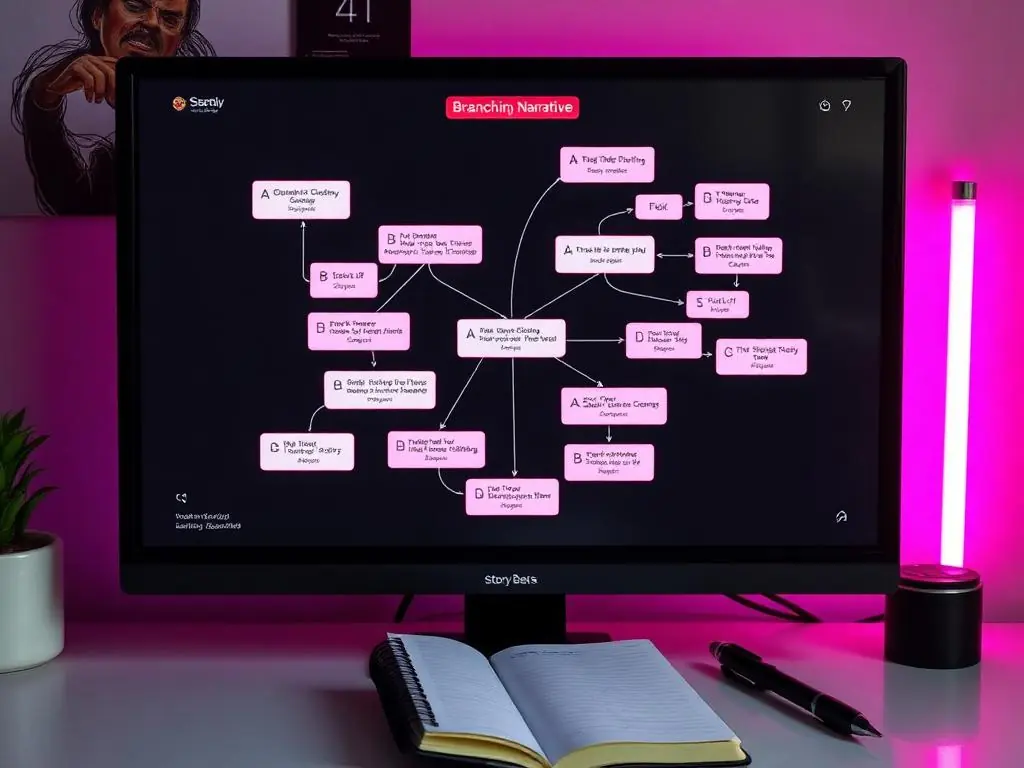 Branches
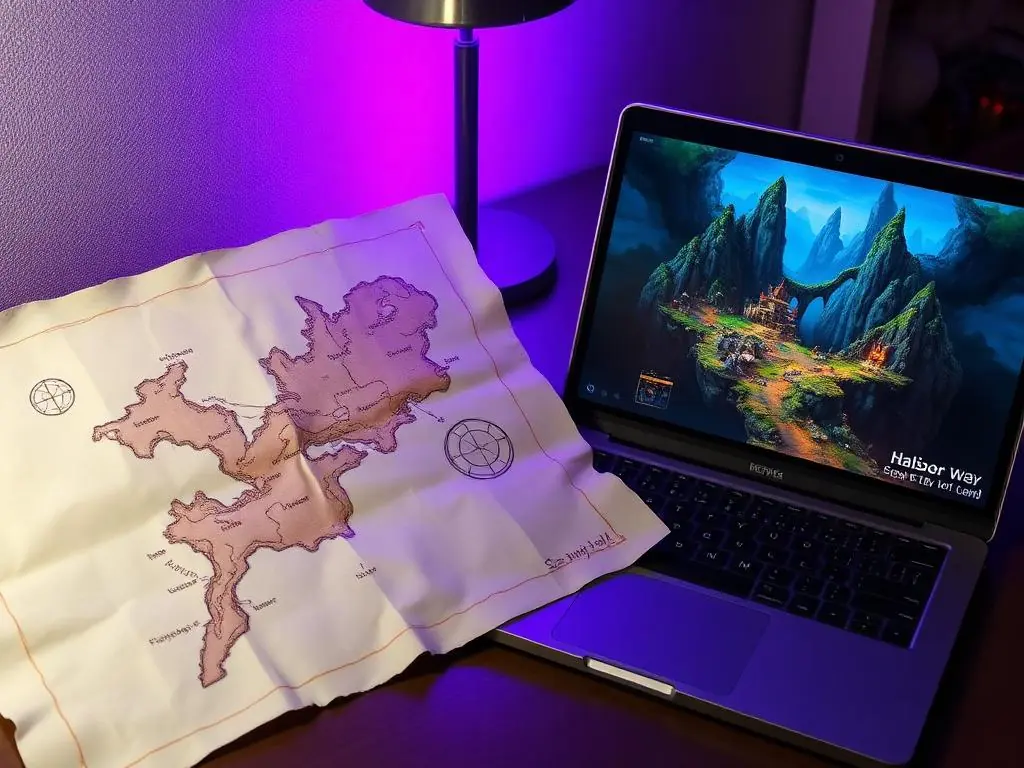 World
World